Messenger på datorn - Så får du app-känsla och fixar problem
Använd Messenger på datorn optimalt! Få en app-känsla med genvägar, fixa notiser och lös vanliga problem. Läs guiden nu!
Itagenturen.se är en samlingsplats för kunskap och insikter om digital teknik, IT-tjänster och artificiell intelligens. Vårt team av experter och entusiaster bidrar med artiklar, analyser och praktiska tips som hjälper dig att navigera i den snabbt föränderliga teknologivärlden. Oavsett om du är en nybörjare eller en erfaren professionell, här hittar du värdefull information som håller dig uppdaterad om de senaste trenderna och innovationerna. Stanna kvar och upptäck vad vi har att erbjuda!
Använd Messenger på datorn optimalt! Få en app-känsla med genvägar, fixa notiser och lös vanliga problem. Läs guiden nu!
Maximera barns digitala trygghet! Upptäck vilka sociala medier som påverkar mest och hur du med smarta inställningar skapar en säker miljö. Läs vår guide!
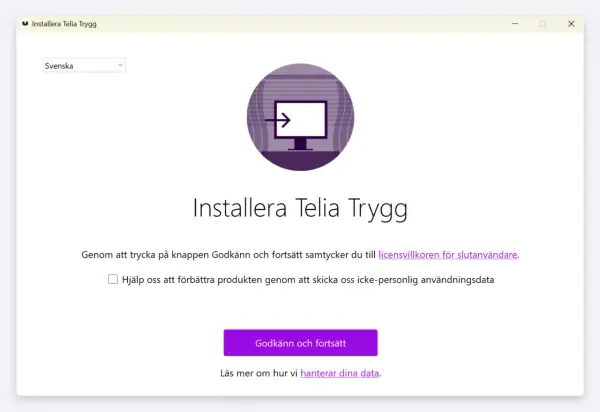
Hantera Telia-abonnemang, fakturor och surf enkelt. Upptäck hur Mitt Telia-appen förenklar din vardag – läs vår guide!
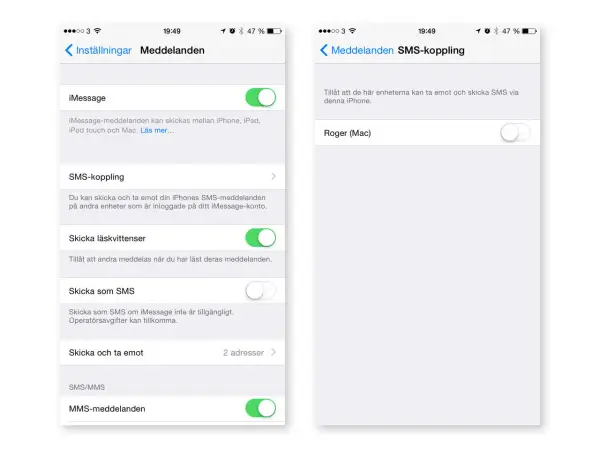
Skapa gruppmeddelanden på iPhone/Android? Lär dig skillnaden mellan SMS, MMS, RCS & iMessage. Få din grupp att fungera!
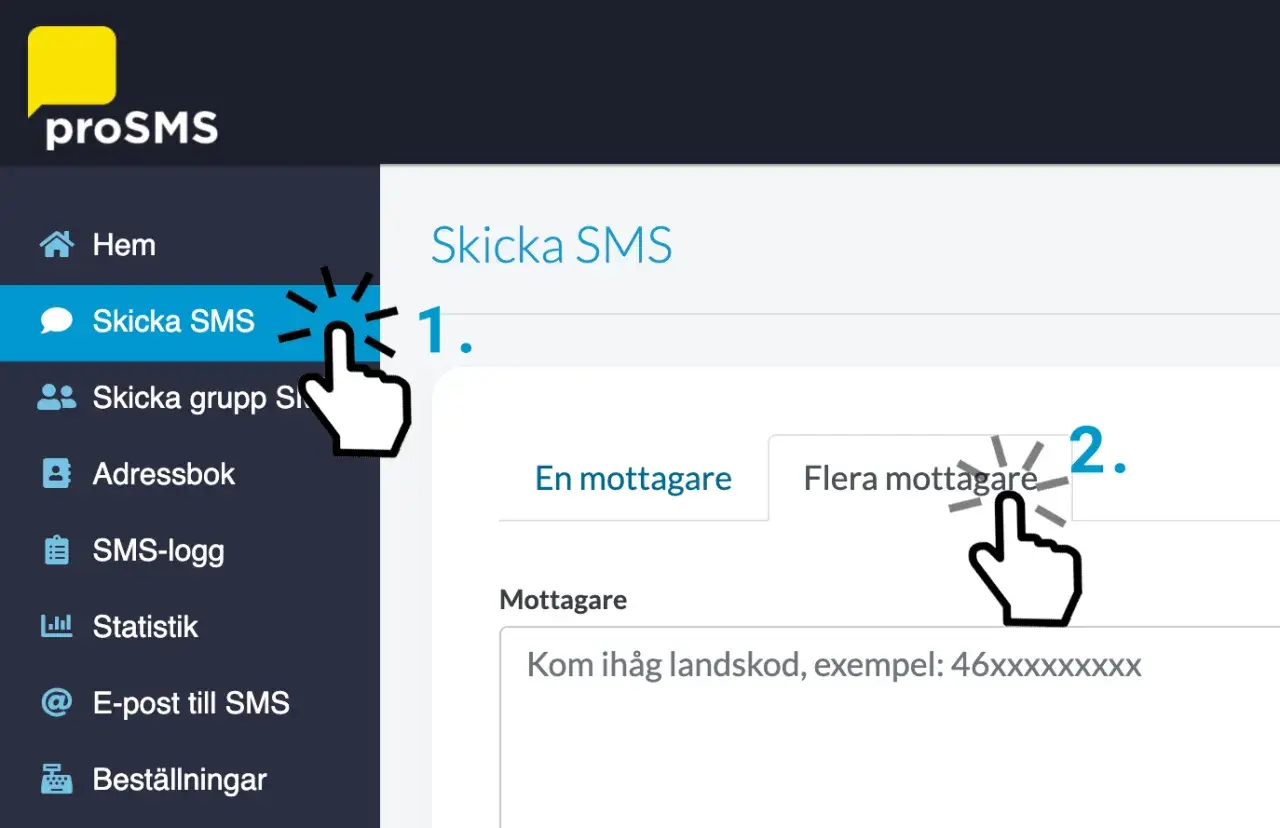
Skicka SMS från datorn? Upptäck bästa lösningarna för Android, iPhone, Mac & Windows. Välj rätt metod för smidig kommunikation!
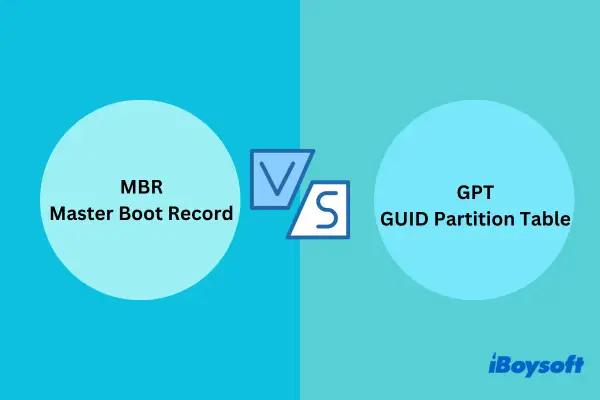
GPT vs MBR: Förstå skillnaden och välj rätt för din dator. Maximera diskstorlek och prestanda! Läs vår guide nu.
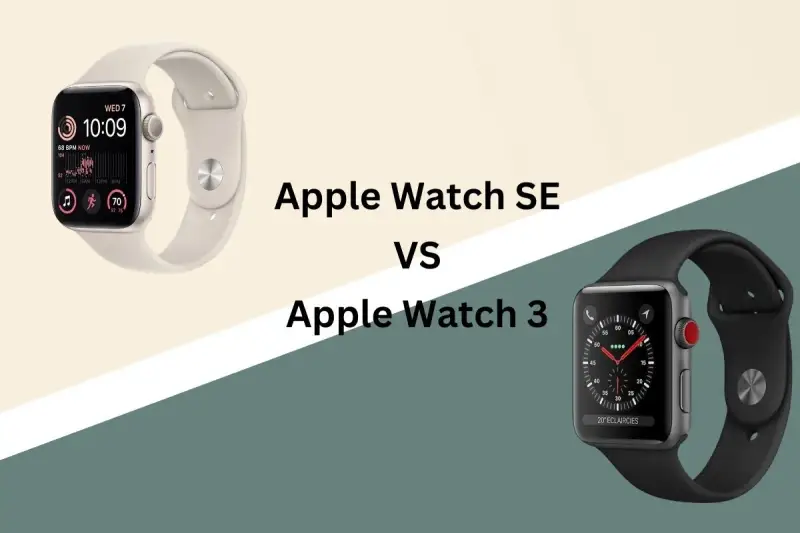
Välj rätt Apple Watch 2026! Jämför Series 11, SE 3 & Ultra 3. Hitta bästa modell för dig baserat på funktioner, batteri & pris. Läs vår guide!
Organisera Safari-flikar på iPhone! Lär dig öppna, stänga, sortera, synka & skydda flikar effektivt med flikgrupper. Få full koll – läs vår guide!
Spegla telefon till dator? Välj rätt metod för Android, iPhone, Windows, Mac. Få en stabil skärmspegling och lös vanliga problem. Läs vår guide!
Hitta bästa gratis skrivprogram 2026! Jämför LibreOffice, Google Docs, Word för webben & mer. Välj rätt för ditt skrivande.
Windows 10 vs 11: Välj rätt OS! Jämför säkerhet, hårdvara och prestanda. Få bästa råd för din uppgradering – läs vår guide nu!
Öppna Kontrollpanelen i Windows 11 snabbt! Lär dig de bästa metoderna, när den behövs och hur du hittar den. Upptäck nu!
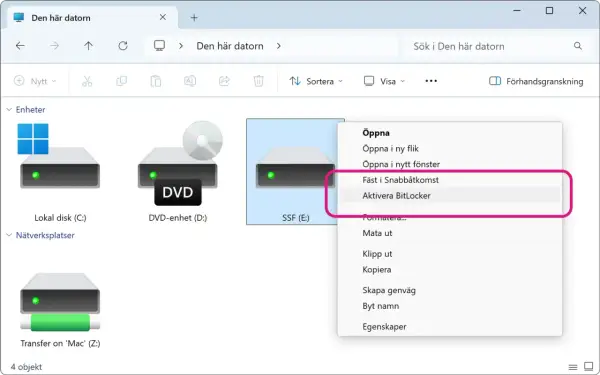
Skydda ditt USB-minne effektivt! Lär dig kryptera med BitLocker, VeraCrypt eller APFS för Windows, Mac & Linux. Undvik misstag – läs guiden!

Skydda dig mot bluffsamtal med svenskt nummer! Lär dig känna igen varningstecken, agera säkert och vad du gör om du blivit lurad. Läs vår guide nu.
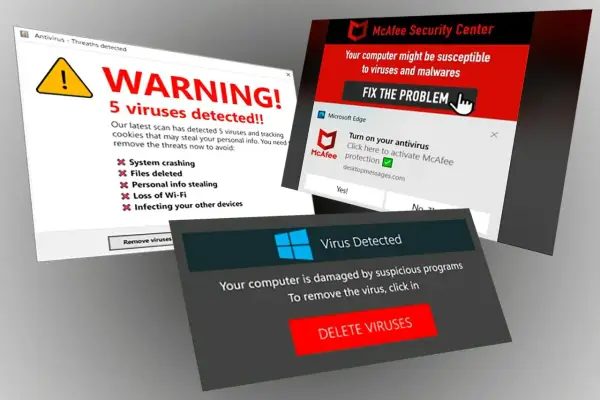
Får du en "kontrollera telefonen nu" varning i Chrome? Lär dig skilja bluff från äkta hot, stäng av källan och skydda din mobil.
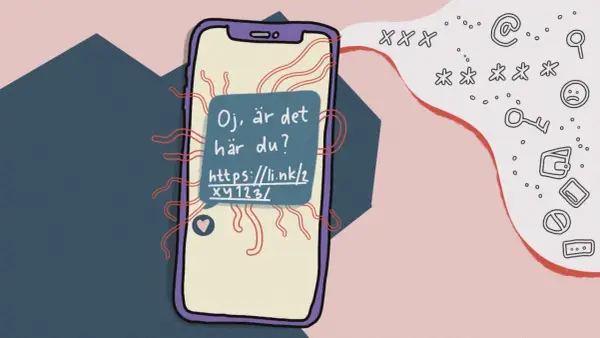
Uppgifter läckta? Lär dig agera direkt! Säkra konton, byt lösenord och skydda din identitet snabbt. Få expertråd nu.

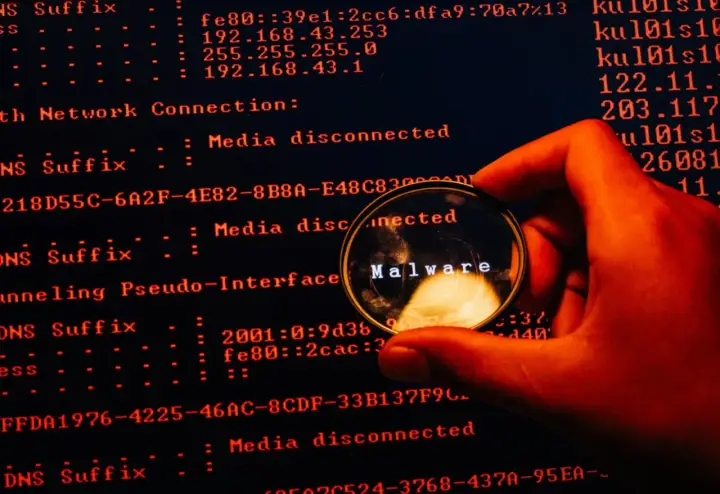
Vad är en cyberattack? Förstå vad det innebär, hur de går till och skydda dig! Lär dig minska risken för dig och ditt företag.